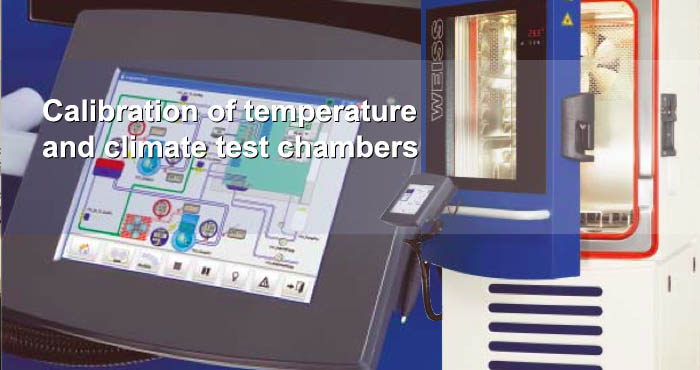
Test chamber calibration with in the operating range
Factory calibration of the equipment is performed at two points within the operating range. Given the linearity of the PT sensor used, these two points shall be sufficient.

Question
The test chamber has an operating range from -70°C to +180°C. However, there are only two calibration points indicated on the calibration report, namely at +23°C and at +80°C.
How can this calibration ensure that the particular equipment will meet factory specifications (e.g. accuracy) throughout the entire operating range?
Answer
Factory calibration of the equipment is performed at two points within the operating range. Given the linearity of the PT sensor used, these two points shall be sufficient.
We apply correction to the measuring system at two correction values if so required.
Remarks
Integrated measuring sensors are pre-calibrated for the Weiss controller's measuring system by the supplier/manufacturer.
The measurement/inspection of extremities is a different category (i.e. machine capacity tests).
Whether or not the machine can reach its specific threshold values and how fast they can be reached are irrelevant to the measuring system.
Calibration principle
During calibration, we inspect the measuring accuracy and not the machine's operating range (machine capacity).
Nevertheless, more than two accuracy calibration points can be established if so desired by the user. The real question is how significant this extension is.
